Is It Actually Dry?
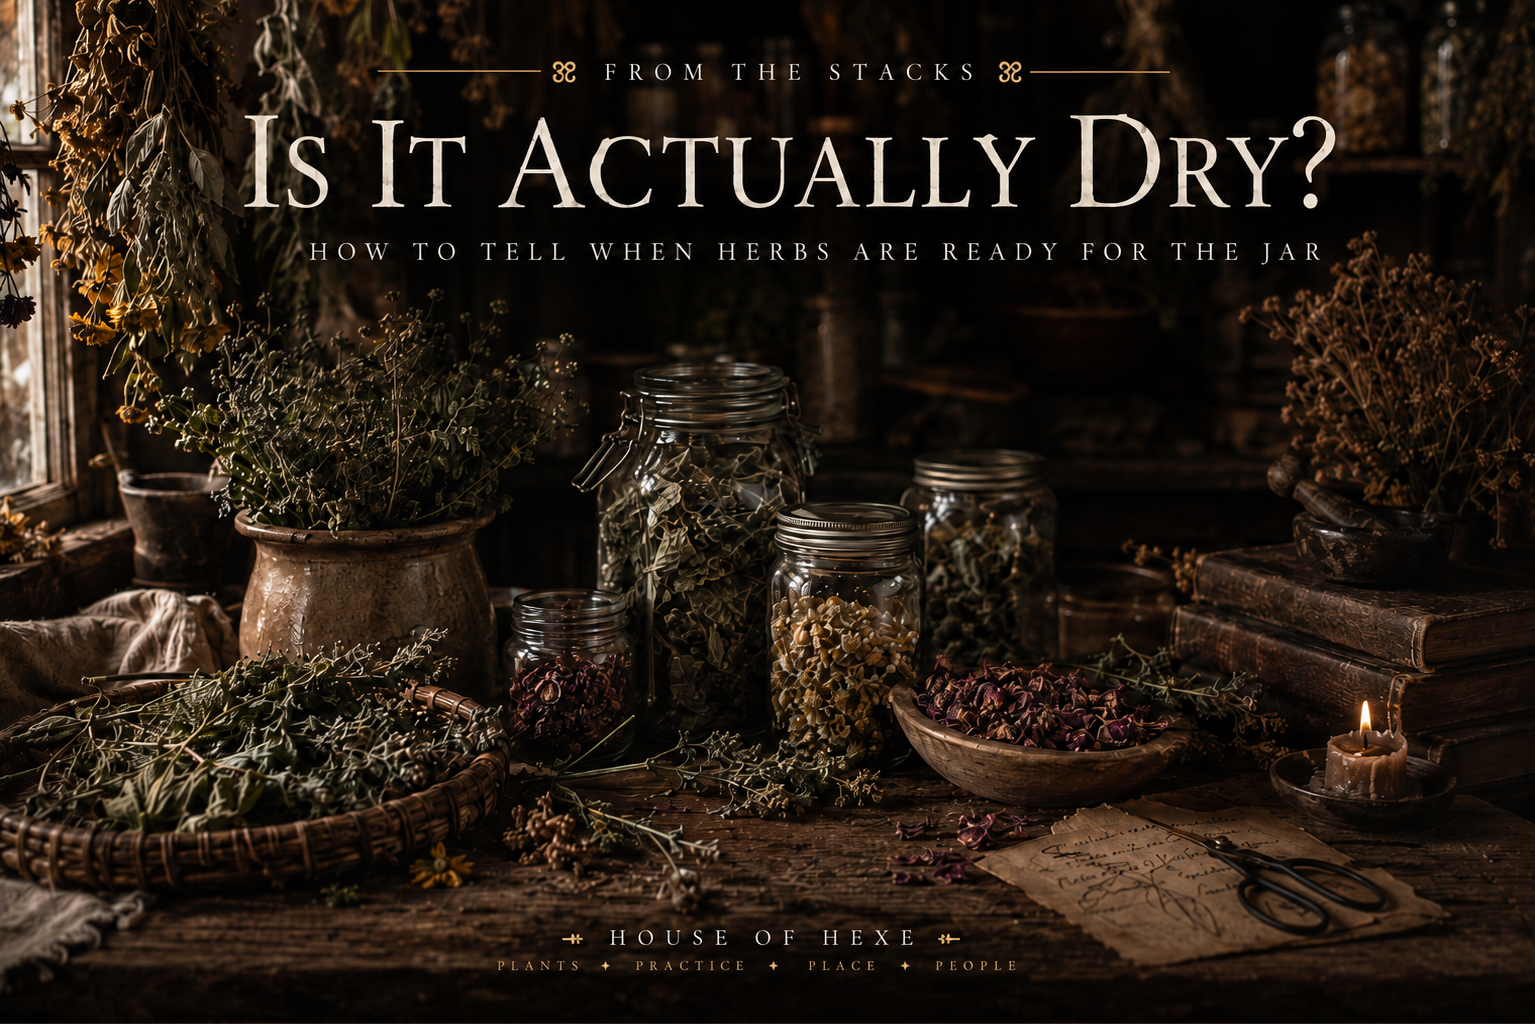
There is an awkward point in drying herbs when everything looks finished before it necessarily is.
The leaves have changed color, the bundles feel lighter, and whatever room has been temporarily surrendered to drying plants has probably been occupied long enough. It becomes very tempting to strip everything from the stems, fill the jars, write the labels, and reclaim the space.
Unfortunately, the jar is exactly where a little remaining moisture can become a much larger problem.
Drying plant material for storage is not simply about making it look dry. Enough moisture has to leave the material that it can be enclosed without creating conditions favorable to mold and deterioration. University extension guidance for home-dried herbs generally describes properly dried leaves as crisp enough to crumble easily between the fingers, with stems brittle enough to break when bent.
Those are useful standards, but anyone who dries more than a handful of culinary herbs eventually discovers that plants do not all arrive at that point in quite the same way. A mint leaf, a yarrow flower head, and a sliced root give very different feedback when they are ready for storage.
Learning to recognize those differences is part of learning how to keep an apothecary.
Dry Is a Condition, Not a Number of Days
One of the least useful ways to decide whether an herb is finished drying is to rely on a fixed number of days.
Drying time changes with humidity, temperature, airflow, the amount of plant material being dried, the thickness of that material, and the method being used. Even two batches of the same herb can behave differently if one was harvested after several dry days and the other came inside carrying considerably more moisture.
Air-dried herbs may take several days or longer, while a dehydrator can shorten the process considerably by providing controlled warmth and continuous airflow. Oregon State University notes that air-drying leafy herbs commonly takes around five to ten days under suitable conditions, while dehydrator drying can take only hours.
Neither timeframe tells us whether the individual batch in front of us is actually finished.
The plant does.
For home drying, I prefer to think in terms of texture and structure rather than the calendar. The question is not whether the herbs have been hanging for a week. The question is what moisture remains in the leaf, stem, flower, seed, or root when you handle it.
Different plant parts give different signals. The goal is not simply to make them look dried, but to remove enough moisture that they can be stored safely.
❦ Texture and structure usually tell you more about remaining moisture than color or the number of days spent drying. ❦
Leaves Should Feel Dry Through the Leaf
For most leafy herbs, the clearest test is tactile. Properly dried leaves should feel crisp rather than flexible and should crumble when rubbed between the fingers. Both the National Center for Home Food Preservation and university extension guidance use this crumbling texture as a practical indicator that leafy herbs are dry enough for storage.
A leaf that folds neatly in half, bends around your finger, or compresses into a soft wad without breaking is usually asking for more drying time.
There are exceptions in texture because plants differ. A thick sage leaf does not feel identical to dried lemon balm, and rosemary does not behave like mint. The useful comparison is between the fresh plant and the dried one. Once dried, the leaf should have lost the pliability created by its water content.
This becomes easier to judge with experience. After enough batches, the hand learns the difference between a leaf that is simply wilted and one that has dried properly.
It is also worth checking leaves from the interior of a bundle rather than testing only the ones exposed to the most air. Thick bunches can dry unevenly, particularly with moisture-rich plants such as basil, lemon balm, tarragon, and mints. Extension guidance specifically recommends small bundles and good circulation for these herbs because their higher moisture content makes them more prone to molding when drying is too slow.
The prettiest leaf on the outside of the bundle is therefore not always the one that tells you how the batch is doing.
Stems Usually Tell on the Leaves
Stems are often more useful than they receive credit for.
A bundle of leaves may appear completely dry while the thicker stems still retain moisture. When the plant is ready, smaller stems should generally become brittle enough to snap when bent rather than folding or bending smoothly. This is another standard used by the National Center for Home Food Preservation and Oregon State University's food-preservation guidance.
This is especially useful with plants that are dried on the stem and stripped later.
If the leaves crumble beautifully but the stem still bends like a tiny piece of green wire, I give the plant more time.
Large woody stems require some common sense because a substantial stalk may not behave exactly like the thin stems supporting the useful leaves. We are not trying to turn every branch into kindling before we are allowed to store the herb. The goal is to make sure that the portions being stored are no longer carrying moisture that will be trapped once they are enclosed.
If the stem itself is not part of the medicine and the leaves are fully dry, the leaves can be stripped away rather than waiting indefinitely for a thick woody stalk to behave like a thin herb stem.
Flowers Need More Attention Than Their Petals Suggest
Flowers can be deceptive because delicate petals dry quickly while the center of the flower remains thicker.
Chamomile is a good example. The petals may feel papery while the raised center still contains moisture. Yarrow flower heads contain many tiny flowers packed into a larger cluster. Calendula has a substantial central portion compared with its petals. Dense flowers and flowering tops therefore deserve to be checked at their thickest point rather than judged by the most fragile tissue.
A dried flower should feel light and dry throughout, without a cool, soft, fleshy, or compressible center. Petals commonly become papery or crisp depending on the species, and the supporting stems should show the same loss of flexibility expected elsewhere in dried plant material.
Color alone is not a reliable test. Some herbs retain beautiful color when dried carefully, while others become noticeably duller even when the process has gone perfectly well. A brownish or faded plant is not automatically spoiled, and a green plant is not automatically dry.
Texture tells us more about remaining moisture than appearance does.
Aroma is useful for evaluating quality, but it serves a different purpose. Dried aromatic herbs should retain a recognizable scent when handled or crushed. Penn State recommends judging the remaining strength of dried herbs partly by their aroma during storage. A faint aroma may tell us that an herb has lost quality, but a strong aroma does not prove that it is dry enough to put into a jar.
Roots Have Their Own Rules
Roots require a different kind of patience because moisture has farther to travel from the center of the material.
Thin roots may dry whole, while thicker roots are usually cut before drying so the interior can lose moisture more evenly. Alabama Cooperative Extension recommends slicing thick roots and describes properly dried roots as hard and brittle.
That description is much more useful for roots than expecting them to crumble like leaves.
A properly dried root piece should feel substantially harder and lighter than it did fresh. Thin pieces may snap, while thicker slices become hard enough that there is no soft or yielding interior when one is broken or cut for inspection.
The center deserves particular attention. A root can develop a dry exterior while still retaining moisture inside, especially when the pieces are thick or drying conditions are too warm. Excessive heat can dry the outer surface rapidly without giving moisture in the center adequate time to move outward.
For home herbal work, cutting roots into reasonably uniform pieces before drying makes both the process and the final evaluation easier. When the pieces are dramatically different in thickness, the smallest may be ready while the largest are still holding moisture.
There is nothing wrong with removing finished pieces and allowing the thicker ones to continue drying.
Seeds Need to Finish Drying Too
Seeds often arrive looking dry because they naturally mature toward a lower-moisture state on the plant, but harvested seed heads may still need additional time before storage.
Seeds should separate readily from dry plant material and feel hard rather than soft or easily dented. Husks and surrounding plant tissue should also be dry enough to separate cleanly. Dill, fennel, caraway, mustard, and similar seed-bearing herbs are commonly harvested as the seed heads mature and then allowed to finish drying before the seeds are cleaned and stored.
For seed intended for planting rather than medicine or culinary use, storage becomes its own subject because viability matters as well as dryness. I would not treat seed-saving requirements as interchangeable with storing dried medicinal plant material.
A Jar Can Give Moisture Back
Once herbs are dry enough for storage, they still need protection from the environment.
Dried plant material can absorb moisture from the air, which is why extension services recommend airtight or vapor-resistant containers stored away from humidity. Penn State specifically cautions against keeping dried herbs near sinks and stoves and notes that condensation can also become a problem when cold containers are repeatedly moved between refrigerated or frozen storage and a warm kitchen.
This is worth remembering in a working apothecary because we open jars.
Every opening exposes the contents to the surrounding air. In a dry climate this may create fewer problems than it does during a humid summer, but good storage practice still matters. Lids should close properly, jars should be dry before filling, and containers should not sit where steam from cooking or washing repeatedly reaches them.
Whole leaves and seeds also retain their aromatic oils better than material that has been crushed or powdered before storage, which is why several extension programs recommend leaving dried herbs relatively whole until they are needed.
For the herbalist, that has the additional advantage of preserving more of the plant's identifiable structure. A jar of whole dried lemon balm is considerably easier to inspect than a jar of anonymous green powder.
What I Am Looking For Before I Fill the Jar
There is no single texture that describes every medicinal plant, but there is a practical pattern.
Leaves should have lost their fresh flexibility and should generally crumble or break easily. Smaller stems should snap rather than bend. Flowers should be dry through their thicker centers rather than merely papery at the edges. Roots should be hard and dry through the interior, with no remaining softness or flexibility. Seeds should be mature, hard, and free of damp surrounding plant material.
The plant should also look and smell like something worth storing. Drying preserves plant material; it does not improve poor-quality material after the fact. Anything showing mold, unusual dampness, obvious decay, or other signs of deterioration does not belong in the apothecary simply because a great deal of time went into gathering it.
I am quite willing to compost a failed batch.
That is part of preserving herbs properly too.
The goal of the home apothecary is not to keep every plant that enters the house. It is to keep useful plant material in a condition that allows us to work with it later.
Once you begin looking at dried herbs that way, the question changes from whether they have been hanging long enough to whether they are actually ready for storage.
And that answer comes from the plant itself.
This article covers how to recognize when herbs are ready for storage. September's Patron study follows the rest of the process: drying, curing, storing, labeling, evaluating, and maintaining medicinal plants in a working home apothecary along with preservation as part of magical practice.
Enter the Patron Library →Food-preservation and university extension resources consulted for drying standards, storage guidance, and practical methods for evaluating dried herbs.